SSH Gateway
ယခုတပတ် Aker SSH Open Source Gateway လေးအကြောင်း ကျနော် sharing လုပ်ပါရစေ။ ဖွံဖြိုးဆဲနိုင်ငံဖြစ်တာနဲ့အညီ ကျနော်တို့ နိုင်ငံ့ကုမ္ပဏီ အများစုက လုပ်ငန်းလွယ်ကူချောမွေ့စေရန် နည်းပညာကို (Information Technology) အားကိုစပြုလာရပါပြီ။ ဤကဲ့သို့ဖြစ်လာသည်နှင့်တပြိုင်နက် လုပ်ငန်းခွင်အတွင်း Data လုပ်ခြုံမှုရှိစေရန် Information Technology Security (IT security) သည်လည်း အရေးပါလာရပြီး IT system တေကို secure ဖြစ်အောင် လုပ်ဆောင်ရပါတယ်။ PCIDSS, HIPPA (သို့) လုပ်ငန်းသဘာဝနဲ့ ကိုက်ညီတဲ့ security standard တေကို လိုက်နာဖို့လိုလာပါတယ်။ Aker က system အတွင်းသို့လာတဲ့ Remote access တေရဲ့ choke point အနေနဲ့ ဆောင်ရွက်ပေးခြင်းအားဖြင့် ဘယ်သူက ကိုယ့် system မှာ ဘာလုပ်ခဲ့သလဲ ဆိုတာ သိနိုင်ပါတယ်။ အီဂျစ်ရဲ့ နယ်နိမိတ်ကိုစောင့်ရှောက်သော နတ်ဘုရား ကို အစွဲပြုပြီး Aker လို့ Developer Anazmy ကပေးခဲ့ပါတယ်။ ဆက်လက်ပြီး Aker Install လုပ်ပုံ အဆင့်ဆင့်ကိုပြောပြသွားပါ့မယ်။
Operating System == > Red Hat Enterprise Linux 7.x or CentOS 7.x Server Name == > aker.example.com IP == > 192.168.246.159/24
Step1: Anazmy’s Github ကနေ local directory အတွင်းသို့ repository ကို clone လုပ်ပါ့မယ်။
1
2
$ mkdir -p /usr/bin/aker
$ git clone https://github.com/aker-gateway/Aker.git /usr/bin/aker/
Step2:လိုအပ်တဲ့ packages တေကို install လုပ်ပါမယ်။
1
$ yum install epel-release
Step3: Aker အသုံးပြုမည့် file များကို executable parameters. သတ်မှတ်ပါမယ်။
1
2
$ chmod 755 /usr/bin/aker/aker.py
$ chmod 755 /usr/bin/aker/akerctl.py
Step4: Log directories နှင့် executable parameters များသတ်မှတ်ပါမယ်။
1
2
3
4
$ mkdir /var/log/aker
$ chmod 777 /var/log/aker
$ touch /var/log/aker/aker.log
$ chmoe 777 /var/log/aker/aker.log
step5: SSH configuration တွင် Aker သုံးဖို့ root user နှင့် admin မှလွဲ၍ အခြားuser များအား force လုပ်ပါမယ်။
1
2
$ echo 'Match Group *,!root' >> /etc/ssh/sshd_config
$ echo 'ForceCommand /usr/bin/aker/aker.py' >> /etc/ssh/sshd_config
Step6: System အတွင်း Aker configuration files Setup လုပ်ပါမည်။
1
2
3
$ mkdir /etc/aker
$ cp /usr/bin/aker/aker.ini /etc/aker
$ sed -i 's/idp = IPA/idp = Json/g' /etc/aker/aker.ini
Step7: Local host authentication အတွက် hosts.json file ကို Aker configuration folder အတွင်းသို့ထည့်သွင်းပါမယ်။ ဤသို့ဖြင့် /etc/aker configuration folder အတွင်း aker.ini config file နှင့် hosts.json authentication file နှစ်ခုရှိနေကပါမည်။
1
$ cp /usr/bin/aker/hosts.json /etc/aker/
Step8: Security more compliant ဖြစေရန်အလို့ငှာ Aker SSH server သိို့ဝင်သော access များအား two factor (Random Token) ဖြင့်ဝင်စေမည်။
1
2
3
$ yum install google-authenticator
$ sed -i 's/ChallengeResponseAuthentication no/ChallengeResponseAuthentication yes/g' /etc/ssh/sshd_config
$ echo "auth required pam_google_authenticator.so" >> /etc/pam.d/sshd
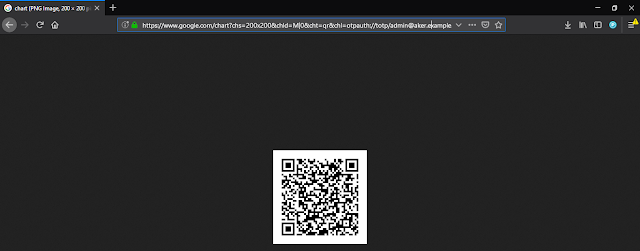
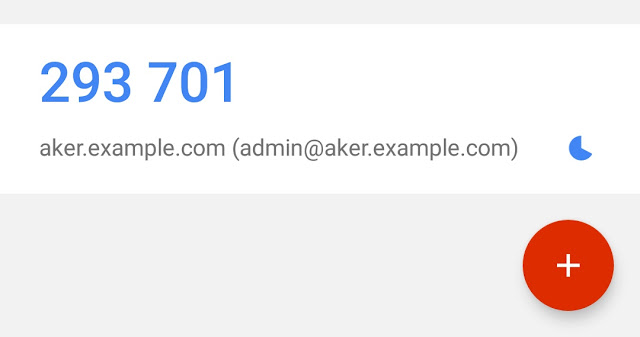
google authenticator application နှင့် QR code scan ပြီး OTP 6 digit code ရယူပါ။
Step9: နောက်ဆုံးအနေနှင့် services restart ချပြီး configuration အသက်သွင်းပါမယ်။ 😂
1
2
$ systemctl enable sshd --now
$ systemctl enable redis --now
ကျနော် သည် standalone configuration လုပ်တာဖြစ်ပါဖြင့် မိမိ Domain Server နှင့်တွဲဖက်အလုပ်လုပ်လိုပါက ‘/etc/aker/aker.ini’ file အတွင်း ‘idp = IPA ‘ parameter ချိန်းပေးရပါမည်။ SSH user အား ‘/etc/aker/hosts.json’ file တွင် လိုသလိုပြောင်းလဲနိုင်သည်။